The mountains are taking shape now, and I am beginning to imagine how everything will look. I started by shaping the mountain near the promethium complex. This was great fun, but very messy. I used a hard wire brush, razor knife, and a small saw to cut and shape the foam. If you look at the larger mountain section, you will see that I shaped the foam to have a downward slope on one face. This sloping is to give it a natural uplifted look, like you would see from an old fault line.

The mountains are built up on both sides of the large reactorum facility, and you can see the spot where the building will fit into the foam like a puzzle piece.

The next step was to add the cast rocks (Woodland Scenics) that I made (see the old post on polyurethane casting for details). It's really important to break up the pieces to make it look very random. Also, you will see that the rocks follow the fault edges that I carved in the foam. After some experimenting, I found that Gorilla glue worked the best to stick the rocks to the polystyrene. You have to look out for big blobs of expanded Gorilla glue, but the fact that it expands to fill gaps is very useful. Plus, you can just cut off any big blobs with a Dremel handheld rotary saw.

Once the rocks were glued to the foam, I then used spray insulating foam to fill gaps between rocks, followed by spackle paste. This step is important since you don't want any foam exposed when you paint with spray paint. After the spray insulating foam and spackle, I then mixed very small rocks and grit into Elmer's wood glue diluted with a little bit of water. This makes a grimy paint that I used to paste little rocks at the tops of the rock faces. You have to imagine where loose rocks would naturally fall to get the look right. After this dried, I then glued on a few extra little rocks with wood glue. This process can be repeated and manipulated many times to get everything right. For now, I will get the first stage done everywhere, and then go back again once all the mountains are completed.
Say Hi to the space marine (non-primaris shown for scale, secondaris?).

I also began to test fit the hover rail track and walls, no gluing yet though. I used the sides of the GW containers as walls for the rail line. I think it will look great once I paint it up. The track is some toy that I found on Amazon. It looks sufficiently similar to the style of the hover features on the bottom of space marine skimmers, so I think it will look great. Plus, I'll cover it with a lot of battlefield debris, so the details aren't so important now.
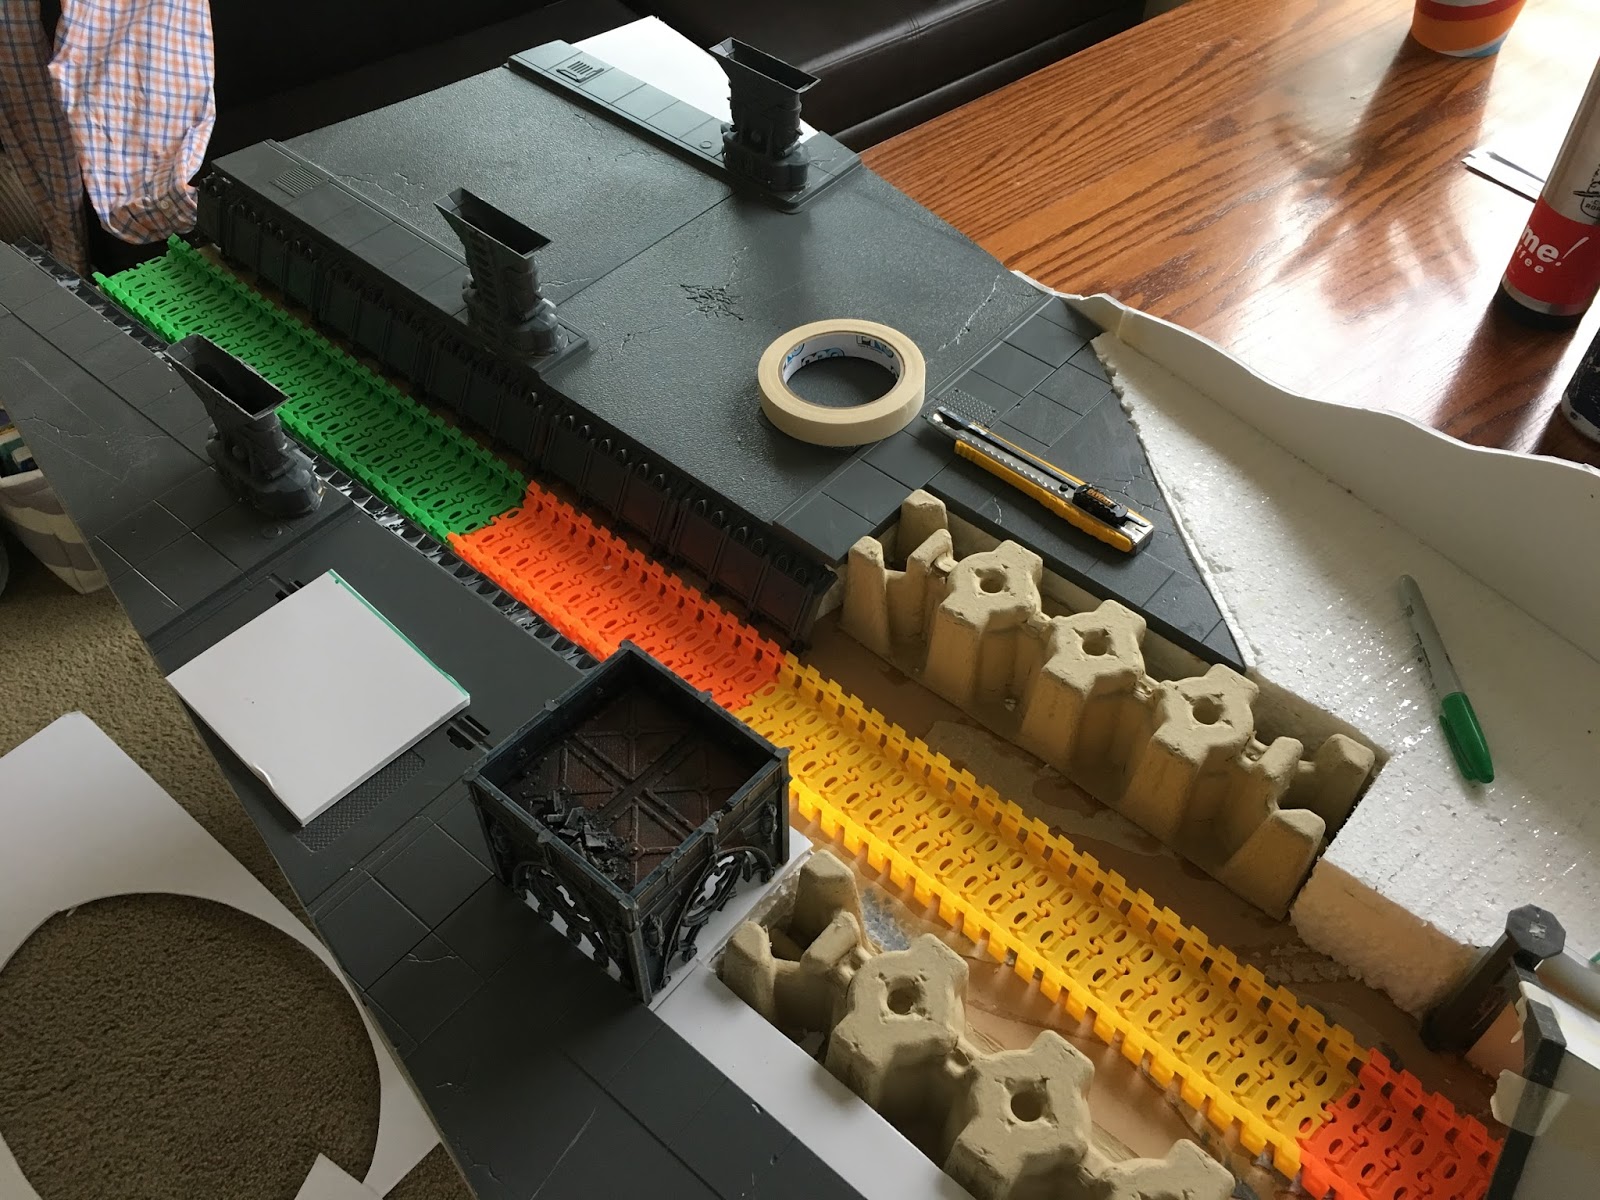
Lastly, I built up the tunnel so that I can begin building up the mountains above. I will have to cut out the foam core at the back to open the tunnel completely. It will give an interesting deployment option, so that will be cool. For now, a lot of the terrain features are only sitting in place. I'm just testing to see how I want things to look as I build.
Looking more like a battlefield.

This looks amazing! So excited to see more of this. How big are you planning to make it? Will it be modular at all?
ReplyDeleteThanks! I plan to make six tiles, that can be arranged cyclicly: 123456 or 234561 or 345612, etc. I think that this way I can have nearly endless combinations of two or three or all boards to make up the terrain, and it will have a lot of small terrain pieces that can be moved around. I hope to get the first three fully built, then build the second three, then paint all together. Should keep me busy for-nearly-ever.
ReplyDelete