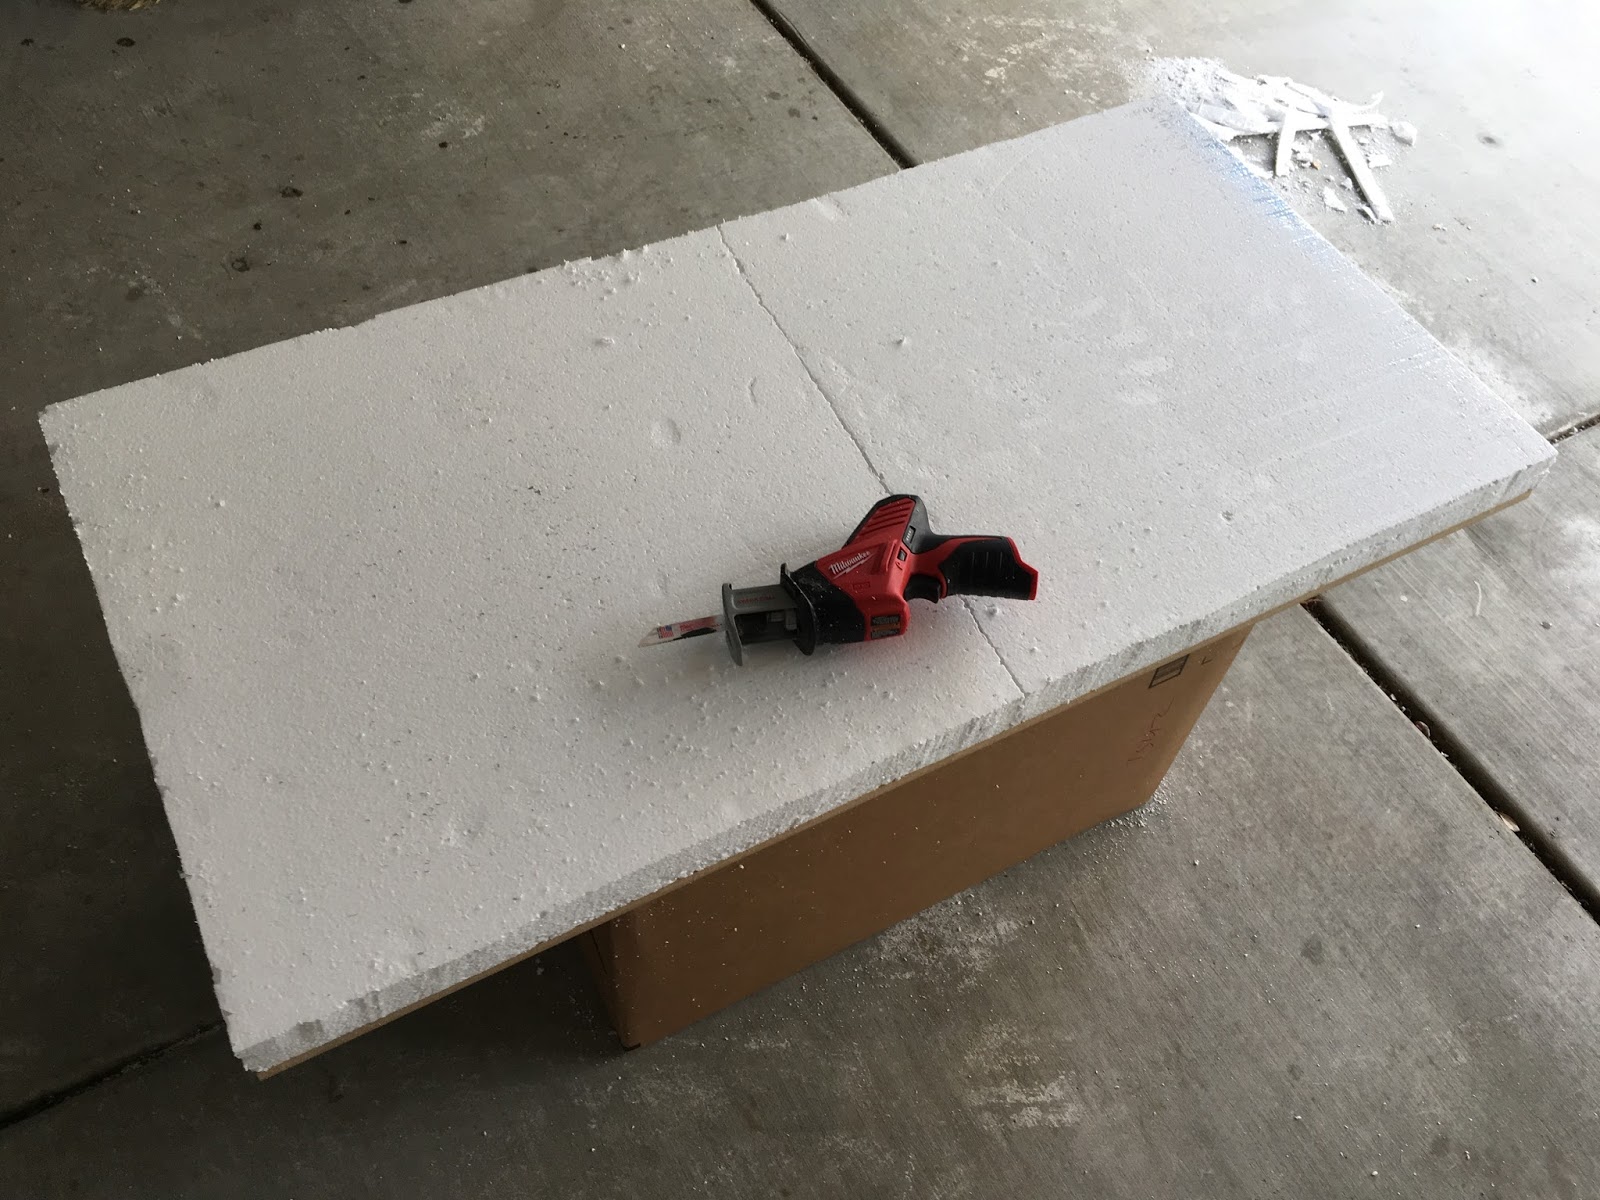
So it started with 1/2" compressed medium-density fiberboard, onto which I glued two sheets of 1" thick styrofoam insulation sheets. Each panel is 2' x 4' and I plan to have 6 panels total. I used the foam to lift the surface so that I can then excavate some depth later on. Probably the most useful tool I've used on this project so far is the Milwaukee Hackzall M18. It's a small handheld reciprocating saw and it has been endlessly useful (more on some techniques another post).


The next step was to lay out some of the components to imagine how it might look. The big styrofoam block at the back is from a Mac computer box, and it will make up the base of the refinery. The strange tracks at the front will make up the promethium servo hauler hover line. So far, this is planned out for 6' x 4' playable area. Mountains will surround the entire area, and I plan to caste up loads of promethium reactors to place throughout the space.

Looking good so far, and it seems to match the quick sketch that I made before hand. Next, I laid out the road tiles to get a rough idea about how I wanted them to be arranged. At this point it was all brainstorming, and I knew things would change as I went along. I began adding detail to the refinery building using plastruct and painted the foam using an old can of citadel grey rough coat (I don't think this stuff is available anymore, but I found a nice replacement in Rustoleum Flat Black and Flat Brown).

Once the road tiles were roughly figured out, I took lots of pictures, and then it was on to framing the mountains. For this, I used foam core, stapled to the MDF edges, and I planned carefully so that the edges match up between boards. The trick here was to keep the heights not too high and be mindful of what grade I wanted in the mountainous slopes. My plan was to imagine the refinery as a continuation of the mountain ridge at the back, so these mountains could be quite high, while the front mountain slope was a bit smaller.

Comments
Post a Comment